From Awkward to Pro in 5 easy Minutes!
Do you feel awkward trying to use a jewelry loupe & just kind of agree to what the salesperson is saying?
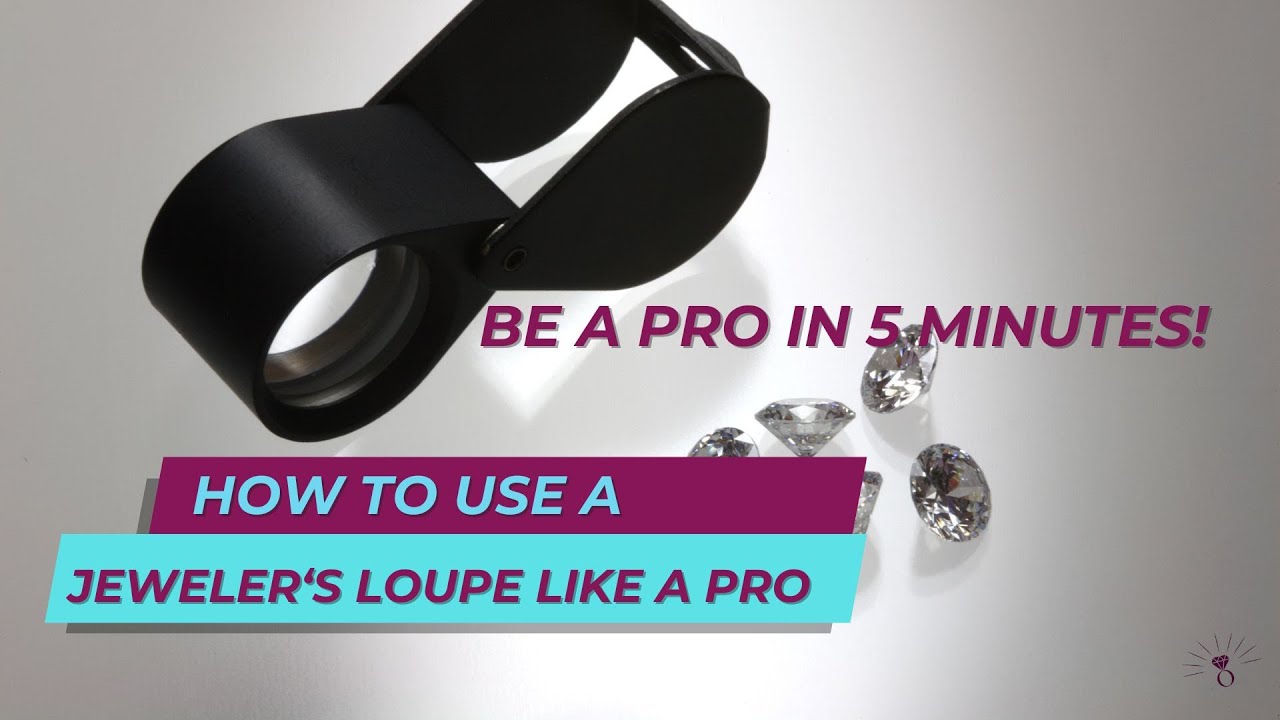
I’m going to show you step by step how to use a jewelry loupe, a vital tool for examining the clarity characteristics of your diamond. Ready to become a pro? Let’s get started!
Watch the video or read on to find out and do it for yourself:
Tip #1: Clean the Diamond
Before you start using the loupe, ensure your diamond is clean. Dust, dirt, or even natural oils from your fingers can obscure your view, leading you to mistake these for imperfections within the diamond.
Use a lint free cloth, often provided at jewelry stores, or if I’m assisting you, I’ll clean it for you. Then, gently rub the diamond with the cloth to remove any surface impurities.
Tip #2: Use your Dominant Hand
Hold the loupe in your dominant hand and the diamond in your other hand.
Keep both eyes open to avoid straining your vision.
Bring the loupe to your dominant eye with your thumb knuckle resting on your cheekbone for stability.
Tip #3: Trick for the Perfect Focal Distance
place the cleaned diamond on the table, top-down, using tweezers. If you’re right-handed, hold the tweezers in your left hand.
Now, position the tweezers between your pointer and middle finger which should bring the diamond into perfect focus. If it’s not in focus, adjust by tilting the tweezers slightly closer or further away until the diamond is clearly focused.
Tip #4: Pro Tips to Look at Inclusions
Once in focus, rock and tilt the diamond, examining it from different angles. This way, you can distinguish between reflections from the tweezers and what’s actually inside the stone.
You also want to look at the diamond in 4 directions. So put the diamond table down, rotate it 90 degrees and examine in this position.
Repeat 3 more times. Inclusions look different (more or less visible) depending on the way the light hits the diamond in that direction.
For example: A feather inclusion can be very bright in one position and be completely invisible when the stone is turned 180 degrees.
Tip #5: Mounted Stones
Same procedure as above, but now bring the ring about 1 inch from the lens of the loupe. Again, rock and tilt it to make sure you are not looking at reflections from the prongs or metal and look at it rotated in 4 positions.
Need more help?
Mastering the use of a loupe is key to identifying the perfect diamond for your engagement ring. With these simple steps, you’ll be a pro in no time. And remember, I’m here to help if you have any questions.
It’s easy, just click the blue button below if you have any questions or need any help, I would love to chat with you!
I have a full video on using the loupe like a pro in my Free diamond masterclass, where you get anytime access to all my diamond insider secrets that goes beyond the 4c’s and shows you exactly what you want to look for when choosing the perfect diamond for your someone special.
And remember, sharing is caring. If you found this article helpful, don’t forget to share it with others who might also benefit from learning about these comfortable and adjustable ring designs. Until next time, stay sparkly!
